
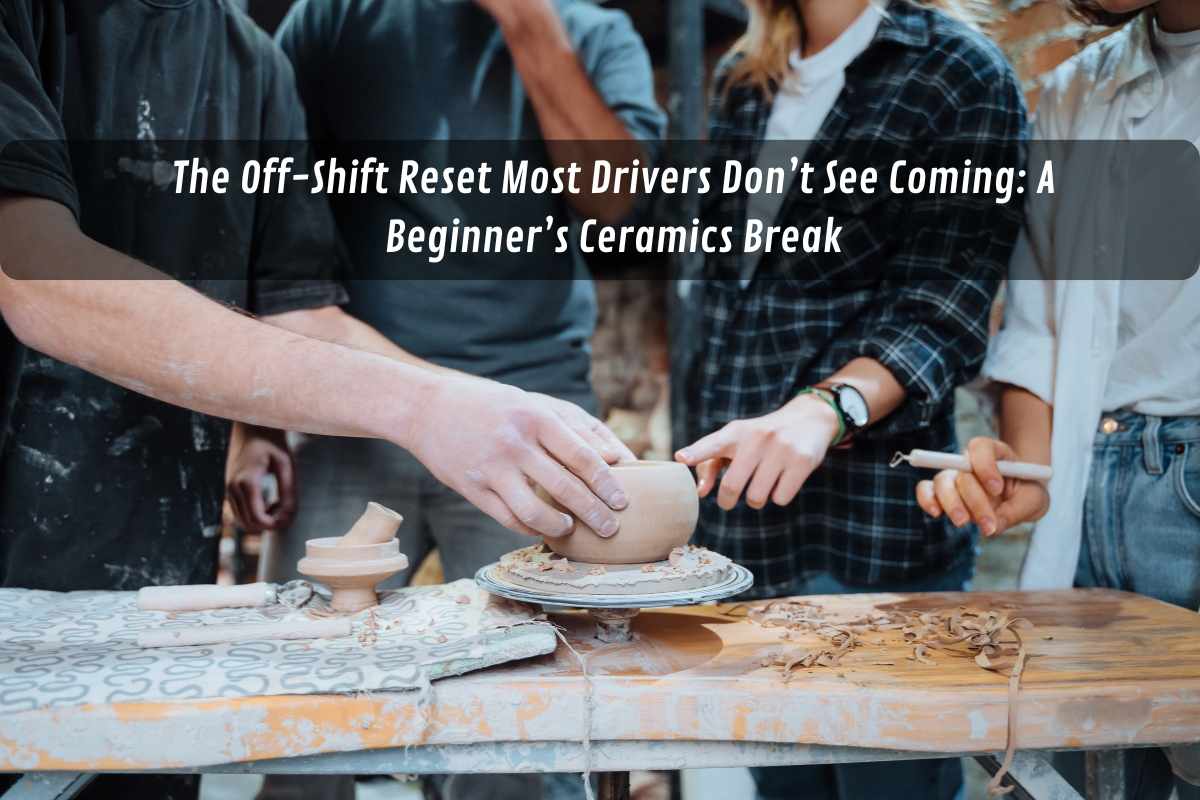
When you’re first getting your hands into clay, you really don’t need a flash studio setup — the kitchen table usually does the trick. The key is starting small and paying attention to how the clay behaves: the moisture, the weight, the way it changes as it dries. And if you want a bit of guidance from someone who’s already watched every rookie misstep unfold, a hand building pottery class can take a lot of the uncertainty out of those early sessions. It also stops you from jumping straight into wheels and kilns before you’ve learned what the clay is actually trying to tell you.
What “pottery” covers—and why your clay choice matters
People say “pottery” and mean a lot of things at once: clay bodies, forming methods, firing schedules, glaze chemistry. That’s fine. For a first project, strip it back to three decisions:
Choose a clay body. Earthenware is friendly and colourful. Stoneware is tougher and has that everyday mug vibe. Porcelain? Gorgeous, but it shows every wobble.
Pick a forming method. Pinch, coil, and slab (hand-building) teach structure and patience. Wheel throwing can wait a beat.
Plan your firing path. Bisque first, then glaze. Or just practice with air-dry clay to build muscle memory before you fire anything.
I’ve seen two beginners on the same day: one on porcelain, one on mid-fire stoneware. The porcelain pot looked like a genius made it—until drying, when hairline cracks took over. The stoneware survived just fine. Material choice isn’t a footnote; it sets your odds.
Tools and setup: the honest starter kit
You don’t need to buy the whole shop. Borrow, repurpose, and spend where it counts.
Clay: grab 5–10 kg of stoneware from a local supplier or studio.
Hand tools: wire cutter (dental floss works), needle tool (a skewer works), metal and wooden ribs, fettling knife, sponge, cheap brush for slip.
Slab gear: rolling pin plus two 6–8 mm guide sticks for even thickness.
Surfaces: a board covered with calico/canvas stops sticking and saves your sanity.
Cleanup: spray bottle, damp rags. Moist-clean; don’t sweep dust.
Safety isn’t dramatic; it’s just habits. Keep the workspace damp when cleaning, avoid dry sanding, and treat ventilation as part of the toolkit—especially if you’re around kilns or powder glazes. Boring? Yes. Worth it? Also yes.
Three beginner projects that teach real skills
You want pieces that look decent, sure. But the real aim is to learn a skill you can carry to the next piece.
1) Pinch pot → wall control
Start with a golf ball of clay.
Pinch with the thumb of your dominant hand; support with the other hand. Rotate the ball a little with each pinch.
Aim for ~6–8 mm walls. This isn’t surgery; close enough is fine.
Compress the base with a rib. Round the rim gently with a damp sponge.
Why it matters: You’ll feel thickness, not just see it. That sense turns into consistency later.
2) Coil vessel → join strength
Roll even coils (no flat “tape” coils—round is stronger).
Score and slip both sides of every join. Really score.
Stagger seams; compress inside and out with a rib.
Leave the outside as visible coils or blend smoothly—both are valid.
Why it matters: Weak joins look okay when wet, then fail in the slowest, saddest way. This fixes that.
3) Slab tray → flatness and warpage control
Roll a slab to 6–8 mm with guide sticks.
Compress both faces with a rib to align particles.
Drape over (or into) a simple mould—board edge, shallow bowl, cardboard form lined with plastic.
Add a small coil foot. Score, slip, compress. Again and again.
Why it matters: Most beginners fight warping late. Compression solves it early.
Firing, kilns and the safety basics no one tells you
You can practice form without firing for a while. Eventually, though, you’ll want to turn “practice” into a cup you can drink from.
Bisque firing dries and hardens your piece so it can take glaze.
Glaze firing matures the clay and the glaze to the right temperature for your body.
Drying is slower than you think. Even, shaded, under plastic beats a sunny windowsill every time.
Ventilation matters. Kilns release heat and fumes; follow install and maintenance instructions, and make airflow a priority.
If you’re in purchase mode—maybe you’re zeroing in on pottery kilns in melbourne, official guidance on ventilation, silica dust, and housekeeping first. It will influence where you put the kiln (or if you buy one at all), and how you clean the space so it stays safe.
Glazes, food safety and that “everyday mug”
A few rules prevent headaches:
Use food-safe, stable glazes from reputable suppliers and fire to the range they publish.
Watch for crazing—the vintage crackle look is charming, but those micro-cracks can stain and trap bacteria on functional ware.
Keep rims and interiors smooth. Burnish edges at leather-hard. If you sand, do it wet.
Make test tiles. Label them with clay body, glaze, and firing schedule. Your future self will thank you.
I still keep my first good test tile in the toolbox. It’s a compass. When results go weird, I have somewhere to look.
Should you try the wheel now—or later?
If the wheel is calling your name, answer it. But don’t feel forced. Hand-building builds the instincts that make wheel work click: thickness, compression, timing. When you’re ready, look for wheel-throwing workshops. A short, focused session can demystify centring and first pulls without burying you in technique.
What the wheel adds:
Centring: setting the clay to spin true.
Pulling: lifting walls evenly without thinning the base to paper.
Shaping: using ribs and pressure to guide the profile.
Timing: reading leather-hard vs. too-wet in minutes, not guesses.
Hand-building first. Wheels soon after. That sequence just… works.
Buying gear vs. renting time
It’s tempting to buy everything. The smarter path is usually slower:
Rent or book studio time for wheels and kilns. You’ll learn faster and skip the maintenance.
Buy a minimal kit: ribs, needle, wire, sponge, brush, guide sticks, and band winding wheel. That’s enough to make dozens of useful pieces.
Delay the kiln until your output—and space—justify it. Power requirements, ventilation, and firing schedules are real commitments, not just “nice to have.”
I’ve watched people buy a kiln early and then avoid using it out of fear. Renting firings through a studio until you know your rhythm is far cheaper than buying a dust-covered guilt machine.
Common hiccups and fixes
S-cracks in bases: Compress early and often. Don’t overwork the centre late.
Slumping walls: Coils too wet or lifts too tall. Let it firm up 10–15 minutes under plastic between lifts.
Warped trays: Not enough compression or uneven drying. Rib both sides; dry slowly on a flat, absorbent board.
Crawling glazes: Dust or oil on bisque. Wipe with a damp sponge before glazing.
Cracks at base-to-wall join: Under-scored or too dry at assembly. Score deeper, use slip with a brush, compress inside and out.
Final thoughts
Clay rewards repetition, not perfection. You’ll make a lopsided bowl that becomes your favourite snack dish. You’ll wreck a rim and learn to trim with a lighter hand. Show up, keep notes, label test tiles, and ask for feedback. If you can build a small habit in a pottery around those things, you’ll be making pieces you actually use—and gifting the extras—before you realise you’ve crossed the line from “curious” to “potter.”


Write a comment ...